01: Preparing Your Onesie for Machine Embroidery – Let's Get It Right!
How do you make sure the onesie is prepped properly for embroidery without messing it up?
What kind of stabilizer should you use to avoid puckering on delicate fabrics like onesies?
How do you position the onesie in the hoop so the design comes out perfectly aligned, no crooked stitching allowed?
Learn More
02: Mastering the Hooping Process – Get the Perfect Tension Every Time
How do you maintain perfect tension on your fabric and stabilizer to avoid those ugly loose stitches?
What’s the secret to keeping the onesie in the hoop without shifting or stretching during the embroidery process?
Why does your machine keep misbehaving when you try to hoop a onesie, and how can you fix it in seconds?
Learn More
03: Perfecting Your Machine Embroidery – Time to Shine with Flawless Stitches!
How do you ensure the stitching comes out flawless, even with stretchy, finicky onesie fabric?
What’s the best way to prevent thread breaks or bobbin issues while embroidering on a onesie?
How do you know when it’s time to stop worrying and let the machine do the work without second-guessing every step?
Learn More

①: Preparing Your Onesie for Machine Embroidery – Let's Get It Right!
When you're dealing with a onesie, preparation is key. Trust me, the last thing you want is to waste hours on embroidery only to see the fabric stretch, shift, or pucker. Here’s the lowdown on how to make sure your onesie is ready for the machine – no rookie mistakes, no excuses.
Fabric Prep: The First Step to Success
You need to pre-wash that onesie. Seriously, pre-washing is a game-changer. It eliminates any shrinkage that might happen later, so you’re not left with a design that’s too tight or misaligned. After washing, give it a good press to remove wrinkles. Any wrinkles, no matter how small, can throw off your hooping. Trust me, that’s not the look you want. And if your fabric is stretchy, use a little starch to firm it up. Think of it like giving your fabric some muscle before the big game.
Stabilizer: The Unsung Hero
Let’s get one thing straight: stabilizer is your best friend. For onesies, you should be using a cutaway stabilizer for maximum support. Why? Well, onesie fabric is usually stretchy, and you need something that will hold everything in place. A tear-away stabilizer isn’t going to cut it – it’s too flimsy for that kind of job. If you want professional-looking results, don’t skimp on the stabilizer. You wouldn’t run a marathon in flip-flops, would you?
Hooping: Precision Is Everything
So, you’ve got your fabric prepped and your stabilizer locked in. Now, let’s talk about hooping. You need to get that onesie centered and taut. I’m talking about zero tolerance for slippage. For accuracy, lay the onesie flat and line up the center with your hoop’s marks. You need that design to sit perfectly straight – even a slight misalignment can ruin the whole look. Make sure the fabric is snug, but not overstretched. Too tight, and the fabric distorts. Too loose, and you get puckering. It’s all about balance, my friend.
Check the Needle: Don't Forget the Basics
Are you using the right needle? The needle matters. For onesies, you’ll want a ballpoint needle because it slides through the fabric without snagging. If you’re not using the right needle, you might as well forget about getting a smooth finish. The ballpoint’s rounded tip won’t pierce the fabric, making sure your design stays flawless. That’s the level of detail that separates the pros from the amateurs.
Keep the Tension Just Right
Tension is critical. You’re threading that needle, right? Because you want the upper thread and bobbin thread to balance perfectly, no tension problems. It’s all about the perfect pull. Too tight, and your fabric will distort. Too loose, and you get thread breaks and uneven stitches. Adjust your tension based on the fabric you’re using. A little trial and error is fine, but once you get it right, it’s smooth sailing from there.

②: Mastering the Hooping Process – Get the Perfect Tension Every Time
You’ve got the onesie prepped, the stabilizer set, but now comes the tricky part—hooping. And I mean, this is where some serious precision is required. There’s no room for sloppiness here. Get this part right, and the embroidery process will feel like a walk in the park.
Perfect Tension: Not Too Tight, Not Too Loose
If you think you can just toss your fabric in the hoop and hit go, think again. The secret to perfect tension is, well, balancing the upper and lower threads. Too tight? You’ll warp the fabric. Too loose? You’ll end up with stitching that looks like a toddler’s attempt at art. The trick? Ensure the fabric sits snugly in the hoop, but not so tight that it stretches. Your machine will thank you later.
Stabilizer Placement: No Shifting Allowed
Here’s the deal: if your stabilizer shifts while hooping, you're basically asking for a disaster. To keep things in check, make sure the stabilizer is cut slightly larger than your design area, giving you some wiggle room. The fabric itself should be smooth and taut, with no bunching. You’re going for that perfect drum-like effect. Smooth fabric, steady stabilizer – this is what the pros do.
Hooping Tools: Don’t Skip the Right Equipment
You wouldn’t run a marathon in flip-flops, so don’t hoop without the right tools. A hoop with an adjustable tension feature is ideal. That way, you can control the fabric tension as you go. Additionally, using a tool like a hoop master can make your life easier. This tool keeps your fabric level and ensures the right amount of pressure is applied. It’s all about efficiency and accuracy, and trust me, the pros wouldn’t settle for less.
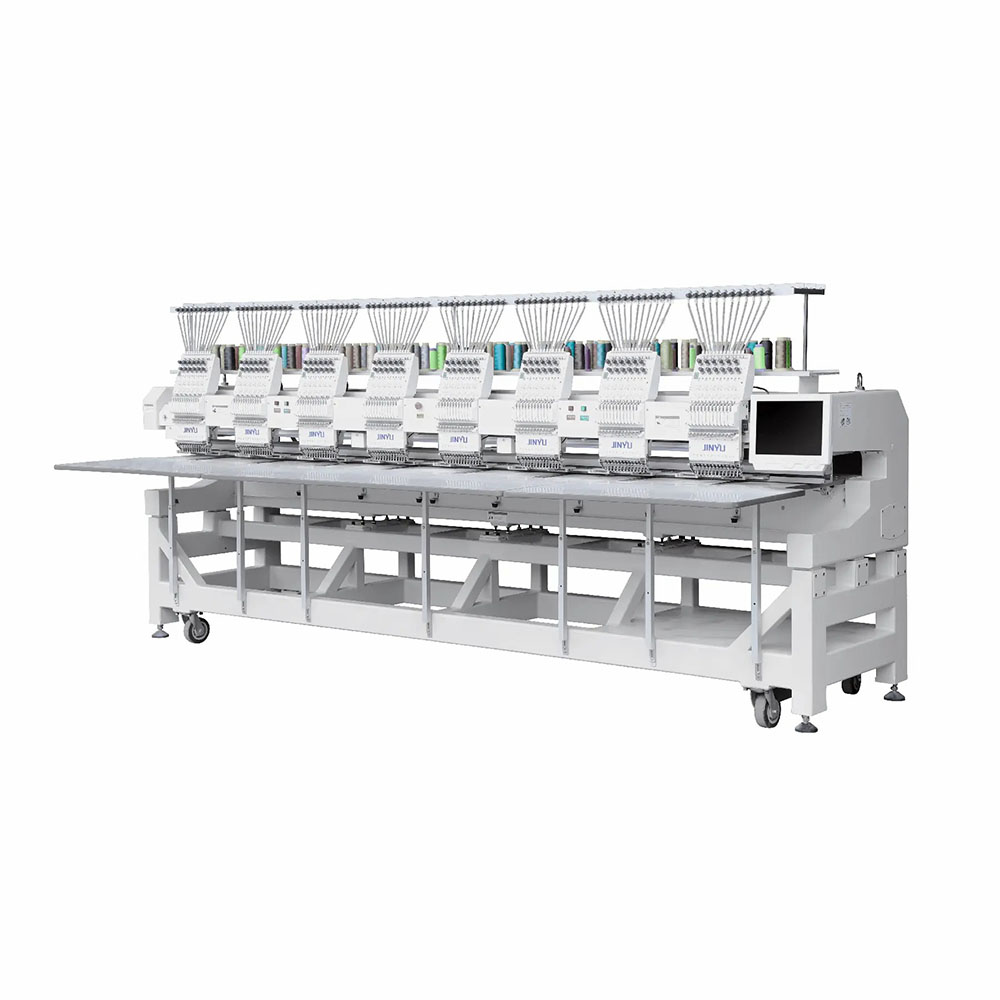
Machine Settings: Adjustments Are Key You can’t just let your machine do its thing without a little prep. Before hitting “start,” adjust your machine settings based on the fabric type. For example, on a multi-needle embroidery machine like the
Sinofu 3-Head Embroidery Machine, you’ll want to fine-tune the tension for more delicate fabrics. Not adjusting your machine is like trying to drive a sports car with the parking brake on – it won’t end well.
Test Run: Always Test Before Going Live
Let’s be real: no one ever got a perfect design without testing first. Run a test on a scrap piece of fabric before you load the real deal. Even slight adjustments to hoop tension or machine settings can make or break your final output. Do you really want to risk messing up your onesie just because you didn’t take 10 minutes for a quick test? Exactly.

③: Perfecting Your Machine Embroidery – Time to Shine with Flawless Stitches!
Now that your onesie is perfectly prepped and hooped, it’s time to get the magic going—embroidery! You want those stitches to be clean, crisp, and flawless. There’s no room for errors, and this is where the real mastery comes in. Let's dive into what it takes to make your embroidery pop and shine like a pro.
Perfect Stitching Starts with Proper Thread Tension No one wants thread breaks or uneven stitches, especially when you’re working on a delicate fabric like a onesie. The key is in getting the thread tension right. Too tight, and you risk puckering the fabric. Too loose, and your design starts to look like a hot mess. To achieve that flawless look, always test your machine’s tension before starting your project. The
Sinofu Embroidery Software has built-in tension adjustment features that can save you a ton of time and headaches. Trust me, those slight adjustments are everything.
Thread Choice: It’s All About the Right Material
The right thread makes all the difference. Don’t just pick any old spool—go for high-quality polyester or rayon. These threads hold up better under stress, and they won’t break halfway through your design. Want your onesie to have that professional-level look? Make sure you’re using threads specifically designed for machine embroidery. Stick to brands known for their consistency, like Madeira or Gutermann. Cutting corners here is like buying cheap sneakers for a marathon—you won’t get the results you’re after.
Fabric Choice Matters: Don’t Underestimate the Power of Good Material
You think any fabric will do? Think again. Onesies can be tricky, especially if the fabric is stretchy. For a smooth, professional-looking finish, you need to pick a material that works well with your machine. Cotton blends are typically your best bet, but be cautious of fabrics with too much stretch—they’ll pull and warp. Test before you start, so you don’t end up with a lopsided design. That’s what the pros do, and it’s why their work stands out.
Bobbin Tension: Don't Forget About the Bottom Thread
If you want to avoid that unsightly bobbin thread showing through on your design, you have to get the bobbin tension spot on. I’m not saying it’s hard, but it’s easy to overlook, and that’s where things can go south. Use high-quality bobbin thread and adjust the tension to match the top thread. It’s all about balance. If you’re unsure, run a few tests. Trust me, that extra effort will pay off when you see those perfect, clean stitches.
Maintenance: Keep Your Machine in Top Shape
No machine is going to run smoothly forever without a little TLC. Make sure to regularly clean and oil your machine. It’s not just about keeping it shiny—it’s about performance. Dust and lint build-up can mess with your stitches and cause the thread to break. If you want to keep your embroidery running smoothly, do some regular maintenance. It’s the difference between getting a clean design and constantly fighting with your machine.
Ready to give your onesie a flawless embroidery look? Drop your thoughts in the comments below. Ever had any embroidery mishaps? Let’s hear about it! And if you found this helpful, share it with your fellow embroiderers!


